This guide explains how to get your maps onto the new Online Editor and mobile app.
Since it is web-based, the Online Editor can be accessed on any device; a computer, tablet or phone.
The first step is to create an account. After signing up you’ll need to verify your account with your email address.
Maps are organised into map sets. You would use one map set for a congregation. A copy of that map set could be set up for testing purposes.
To add a map set, click New Map Set at the top right of the screen.
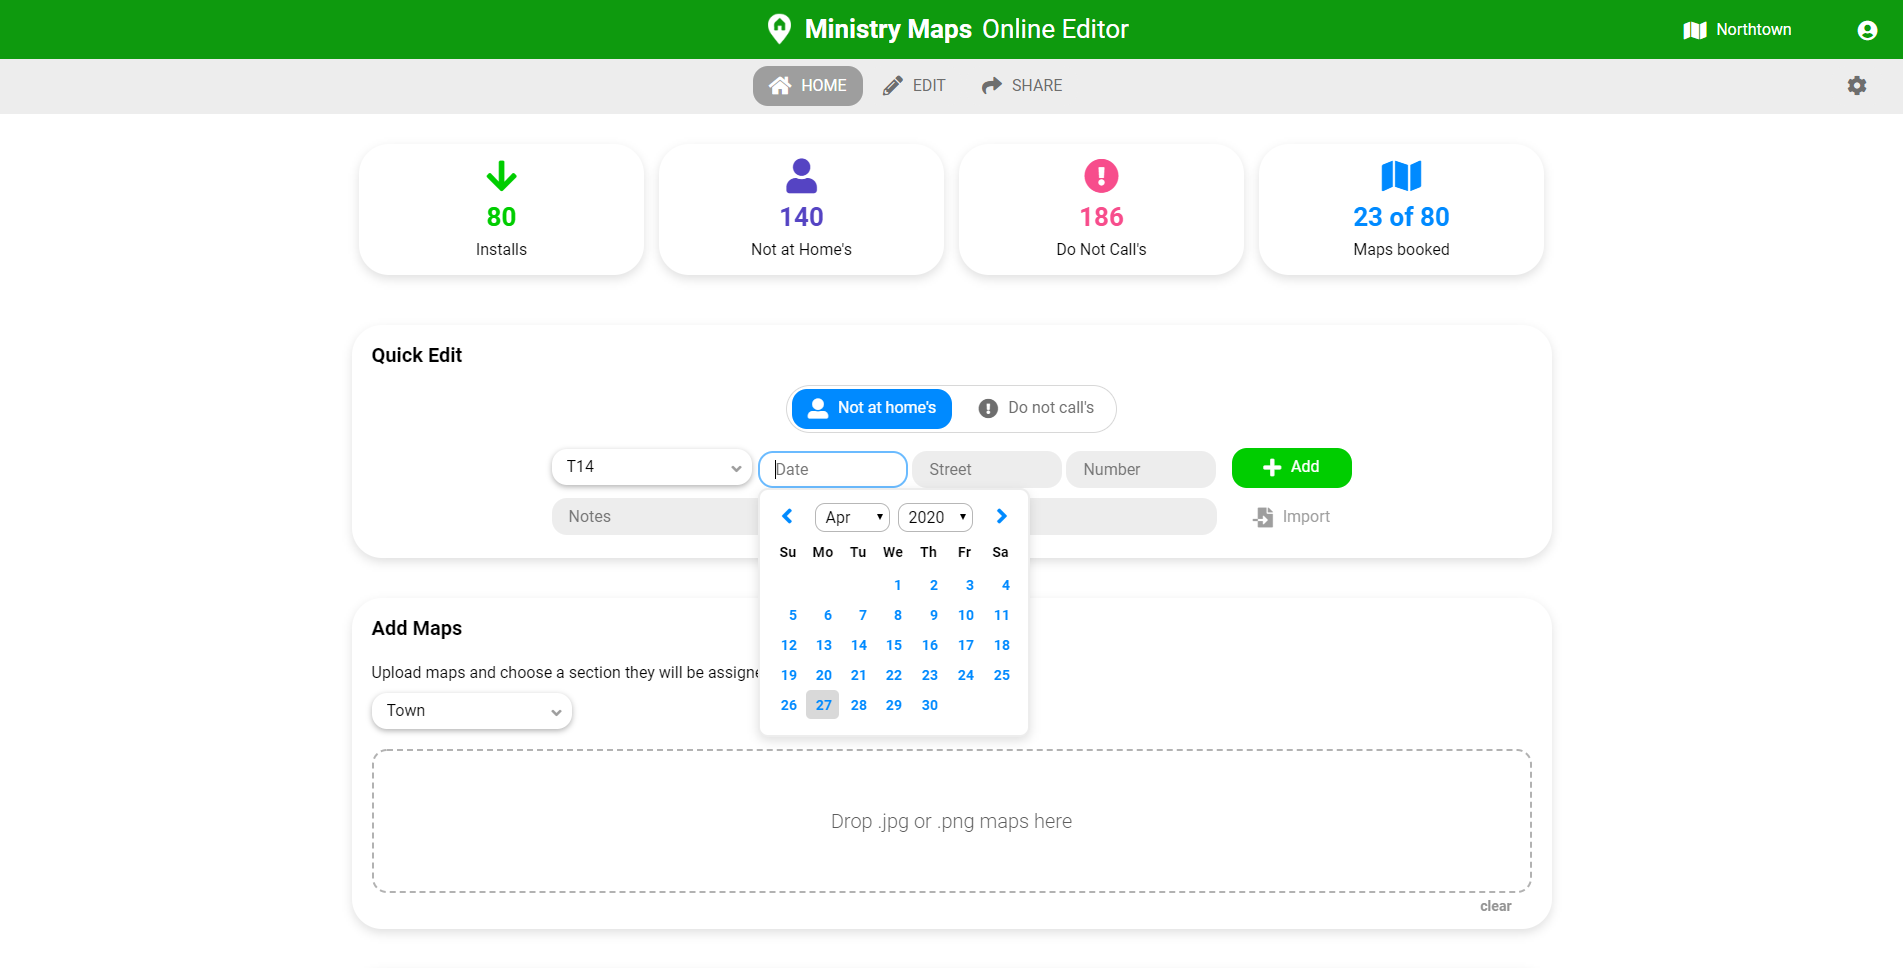
On the Home page, you can add your maps in the Add Maps box by clicking on the dotted box or dragging images onto it. The files must be .png or .jpg. If you are on a mobile device you have the option to take a photo or choose from your camera roll. When uploading, the maps will be assigned a section which is called ‘Town’ by default. You can rename this or add new sections to help organise your map sets. Whatever section is selected in the dropdown when the maps are uploaded is the one they will be assigned.
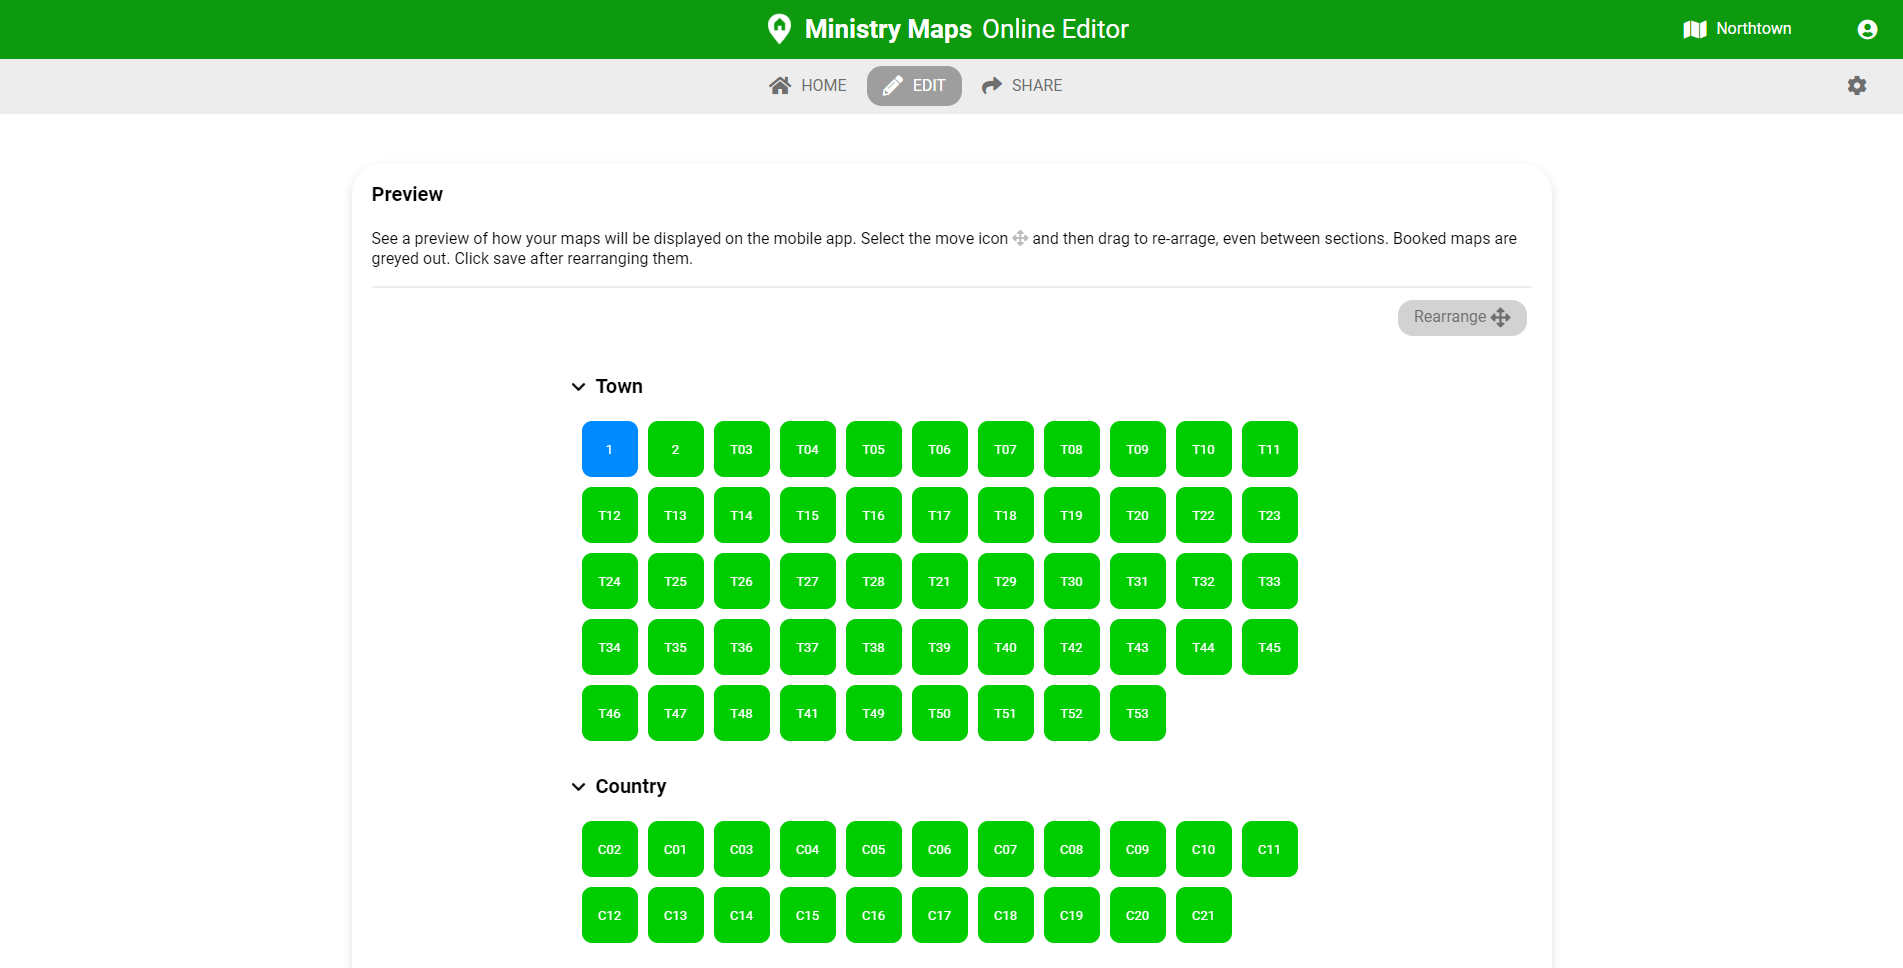
Next, go to the Edit screen. If you need to rearrange your maps or shift them between sections, you can enter the arrangement mode by clicking Rearrange at the top right of the Preview box. Remember to click save once finished.
You can choose the name that appears on each maps preview square in the Map Info box, along with keywords – these can be searched with in the app. A use case for this would be writing in all the street names so publishers could search for a map based on the streets.
Not at Homes and Do Not Calls can be added for each map.
When you have finished editing your maps, go to the Share screen.
The last step is to create a unique share code, this is like a password so make sure it isn’t easy to guess. Also set options like whether users can see DNC’s on the app.
Now on the mobile app simply click Enter Share Code and with your unique code typed in the app will download all the map files and information, ready to use.
If you delete a map set in the Online Editor it will be deleted off all mobile devices that have downloaded it.
Note: Sometimes you may want to remove the map set from everyone’s device if you have created a new share code or made some important updates. To do this, click on the map set settings at the top right, and then ‘Reset Access’.
In the Online Editor you can choose a Pro subscription if you want more map sets, priority email support or as a way to help offset costs of building and hosting Ministry Maps.
See the next guide on getting started with the mobile app.